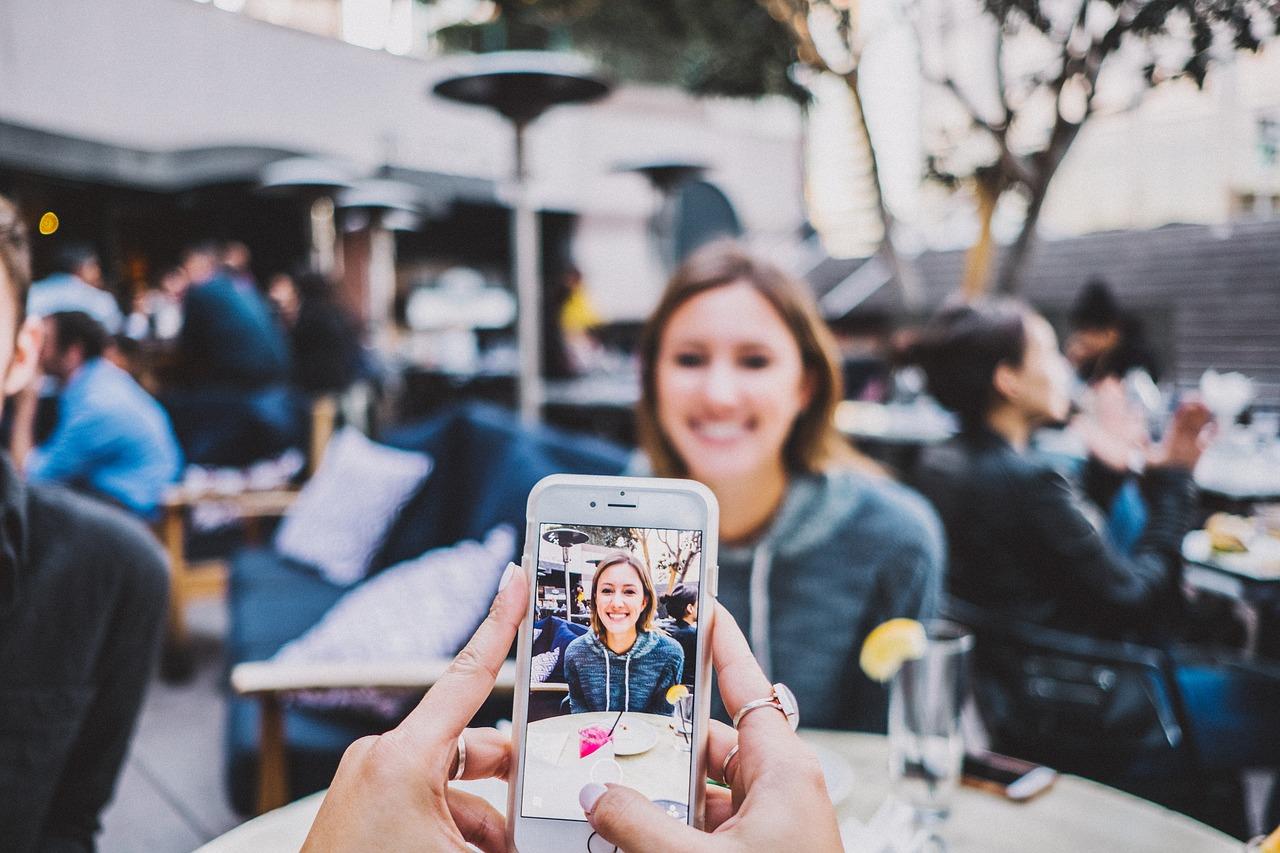
Smartphone cameras have made a huge technological leap in recent years. But how do you best use those innovations to take spectacular photos?
Multiple cameras, time or flight depth sensors, all kinds of innovative features in the camera app: modern smartphones such as the Samsung Galaxy S10+, Huawei P30 Pro, iPhone 11, OnePlus 7 Pro, or Mi 9T Pro have a built-in camera setup that is superior to the smartphone cameras from just five years ago. Technology has made an enormous leap.
But what can you do with it? Here are four tips
1. Update focus and light exposure
Your first step to a spectacular smartphone photo is to update focus and light exposure. With most camera apps, this is simply done with a tap on the screen: touch a particular area in the image, and the “layer” on which the objects are located is focused.
For the “exposure” or light exposure, a slider bar is usually used in the image. There is no real standard when it comes to camera apps: every smartphone manufacturer has its app with its accents. But the quick adjustment of focus and light exposure, right on the screen, is fairly universal.
2. Use natural light
Smartphones have a built-in flash, but it is best to use it as little as possible: it gives an enormously flat image. Make the best possible use of natural light by day. Make sure that the person or object you are photographing is illuminated from the front: when the light source is behind the person or thing, you create a dark silhouette.
When shooting in a dark environment, the use of artificial light is always recommended above the flash. Make sure that the person or object is close enough to that light source and that their face is well exposed (and not from below because that gives a nasty effect). When in doubt: take a photo with and without a flash.
3. Use the ‘third-party rule’
This is the basis of photography: never place the person or thing that must be at the center of your image, because that is the way to take boring photos. Use the third-party rule known to photographers: horizontally and vertically, you divide your image into three thirds.
The subject comes into its own when it is in the third on the left or right, or in the (usually) lower or (sometimes) upper third. That also gives your photos a specific dynamic: when, for example, you photograph someone while walking, you indicate with a frame on the left side of the image that he still has a long way to go, and when he is standing on the right side of the frame you suggest that he has already covered many miles. No problem: with most camera apps you can use a grid as a helpline.
4. Keep your smartphone stable
Many modern smartphones have optical image stabilization, but it remains a problem: when you move your arm or shake, you get blurred in the image. Using a tripod or gimbal for a quick snapshot is usually not possible, but there are ways to keep your smartphone stable easily. For example by having your elbow supported on something or the arm with which you take the photo to stabilize against a wall.
